 | ||||
Installation Instructions for 5" Brisket Bar Cylinders

Good Position for lubricator
Weld bracket to Brisket Bar. Upper hose
comes from the swivel, lower hose goes to cylinder. Once every 6 months open filler plug on top and fill 1/3 of can with STP (not more than 1/3!) Close plug and raise the bar - air takes STP along and blows it into the Cylinder.
Click photos for larger view
New Front Clevis included with cylinder.
Also shown above - 3 long Cable Retainers. They eliminate custom-made cables from DeLaval which are very expensive and take forever to get. Buy cable by the foot. Way less expensive and you get immediate delivery. Call for more info.
New Cylinder and Lubricator After Installation


Cylinder and Hardware

New Slide Pads
Included. Chances are your's are worn down.
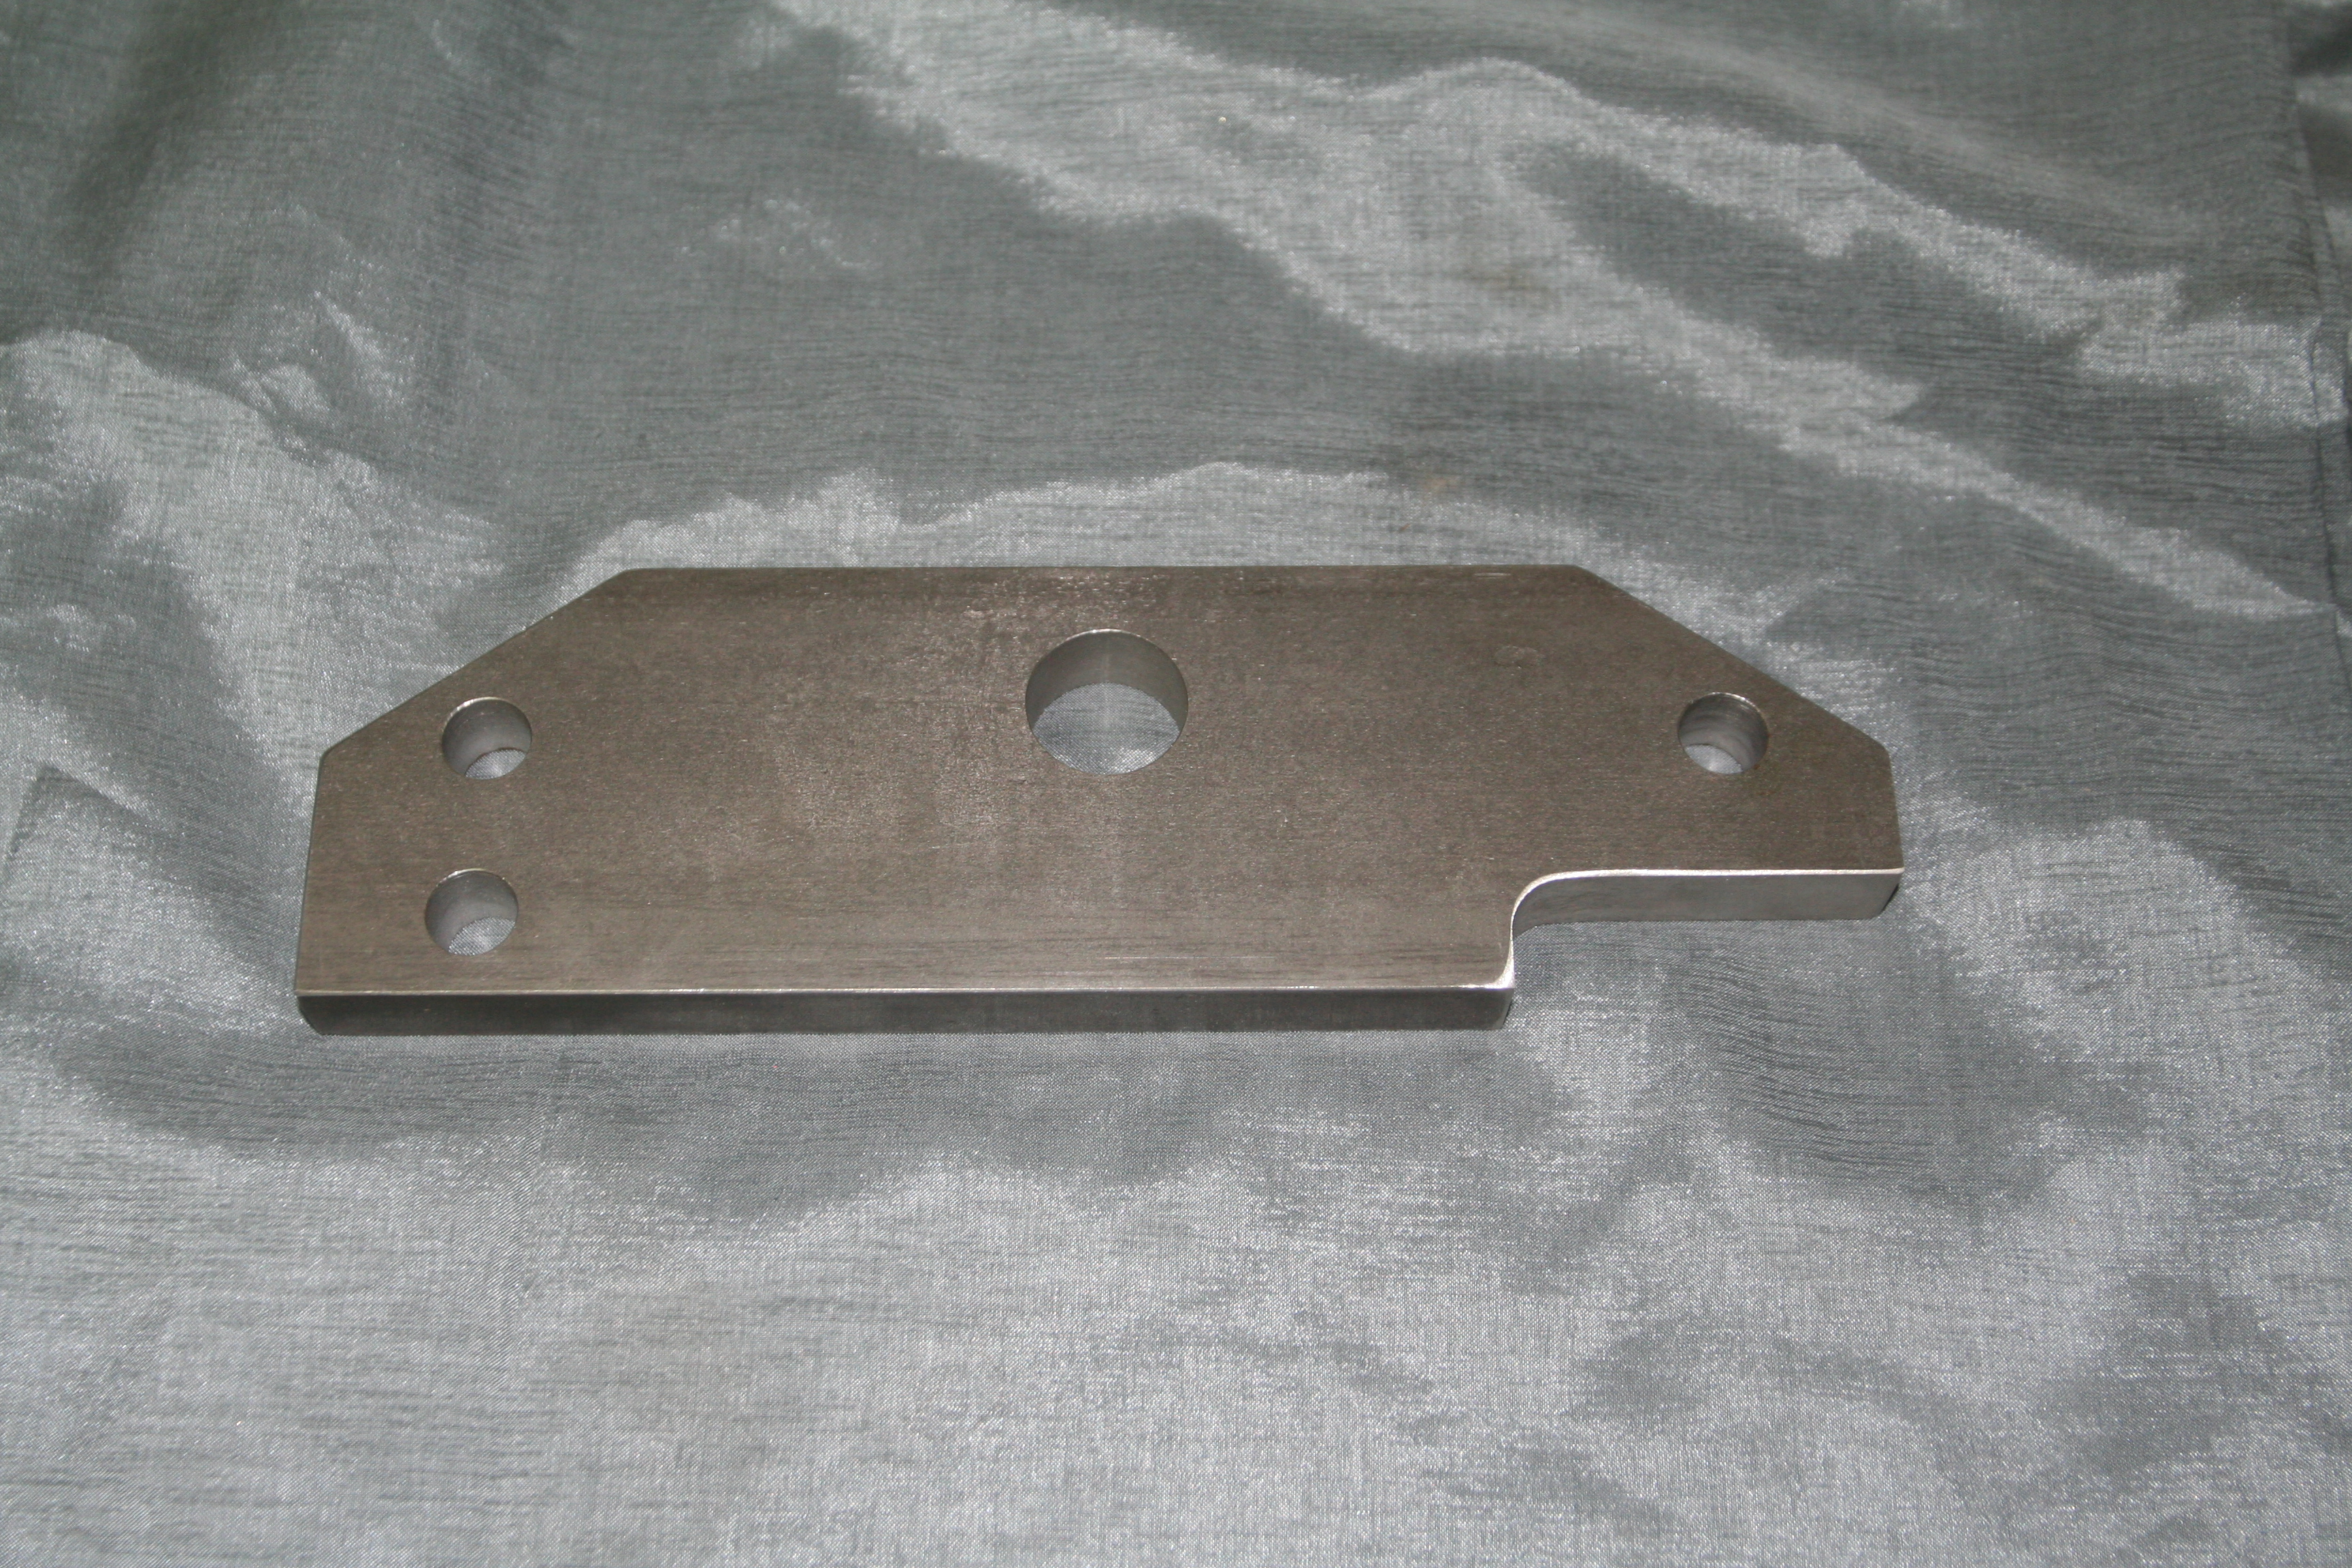
Front Hold-down Bracket
The original Germania cylinder is held in place with a U-bracket, which in turn is held in place with two bolts, which are extremely difficult to get out, not to mention getting them back in. Pitch the U-bracket and the bolts. Then drill two holes into the vertical legs of the (2) L-Brackets and hold the cylinder in place with the bracket shown above - easy to get in and out!
The vertical legs of this bracket take up the space/slop between the cylinder you took out and the new one.
Lubricator and Bottle of STP
We use STP instead of BeDe lube for several reasons:
- Extremely 'persistent' lubricant, sticks around for a very long time.
- Does not emulsify, i.e. mix with water
- Available from every gas station at a couple or three bucks.
- Bottle of STP not included. UPS won't let us.
Extra Seal Kit
With some luck you won't need it for the next ten or twenty years. But they are a pain to find after that much time - people and companies change. You can keep it at the Dealership or give it to the customer.
Best way - fasten it with four tie-wraps to the tie-rods of the cylinder. It'll come in handy many years in the future.
TFA - Owner/Operator Information for dairy parlor equipment
Technology For Agriculture LLC
1855-A West Davenport St., Rhinelander, WI 54501 | Rolf's Mobil 715-360-3660 * Fax 715-362-7595 |
Copyright 2007 Technology For Agriculture LLC * All Rights Reserved
Site Design and SEO by S&J Enterprises
Rear Cylinder Clevis
This clevis is built off center! Makes for left & right assemblies. If your cylinder is assembled for the wrong side, disassemble the four tie-rods and turn the clevis 180 dgr.
Do it carefully and watch the paper gaskets where the cylinder barrel goes into the black end pieces.
While You Are at it...
Lubricate the cylinder shaft! Obviously, injecting the lube into the rear of the cylinder only lubes the barrel and piston. Lube cannot reach shaft.
Dip a paint brush into STP and paint the shaft while it's extending and retracting. Extends the life of the front nose bearing immeasurably! 20 years instead of 10 if you do it religiously once a year.
3 1/2" Long Front Nose Bearing
The heart of the brisket bar cylinder!
The cylinder, used in this application has two 'design flaws'. Flaws I would change if I knew how.
1) A very long stroke and
2) Cylinder installed horizontally. When the shaft is all-the-way out, the cylinder and shaft 'buckle down' in the center. Very little at first, may be only a few thousands of an inch, but that bit of a buckle increases the friction on the nose bearing considerable.
As time goes by, the bearing begins to wear, with the opening slowly elongating, where the additional friction eventually grabs the shaft so tight that the Brisket Bar hangs in the up position.
Off-the-shelf cylinders, like the new aluminum Germania cylinder and the original TRD cylinders we buy, have bearings that are only from 1" to may be 1 1/2" long. Not long enough! We machine our own 3 1/2" nose bearing and replace the TRD original. Our very own all-stainless 4" cylinder has a 4" long nosepiece!
One minor disadvantage - with the longer nose bearing you loose about an inch of 'Up' travel.
**Better Location for the Lubricator
Ideally, in addition to the cylinder, you'd also want to lubricate the 2 hose swivels (on either end of the hydraulic hose) and the Brisket Bar Main Valve inside the control panel. Therefore try to find a location for the lubricator somewhere in the control panel.
Shut off the supply air, disconnect the 'In' hose from the main valve and connect it to the 'In' port of the lubricator. Connect the 'Out' port of the lubricator to the 'In' port of the main valve, fill the lubricator with STP, close it and turn the air back on.
Now disconnect the hose from the back of the cylinder. Push 'Up' and wait for the STP to show up at the hose. Once it does, re-connect the hose to the cylinder and run the brisket bar up and down a couple of times to distribute the lubricant in the cylinder.
Over the years Germania exhausted the cylinder either right at the cylinder inside the brisket bar or at the main valve in the control panel. Either way its noisy and sometimes the owner and/or the cows complain about it, given that the exhaust noise is right at the entrance gate.
How to get rid of the noise. If there's is a quick-exhaust valve at the cylinder remove it and connect the hose directly to the cylinder. If the cylinder exhausts at the main valve in the control panel, remove the exhaust muffler and pitch it.
1) Install a long 3/8 hose from the exhaust port of the main valve to the very front of the parlor and lay it into the overhead channel (if there is one). Then connect a 2" stainless TechForAg muffler to the hose ($61.25). Reduces the noise by about 80%
2) Make your own 'Poor-Man's' Exhaust:
Same hose, same location. Take a whole bunch of udder towels (the more the better), and wrap them loosely around the end of the hose, sort of like a bag. Then fasten 'the bag' with several tie wraps to the hose. Crank well.
And don't tell anybody where you heard about this....
A Word About Cylinder Exhaust Noise


Breezer Plug. Should definitely be there. Over the years crud accumulates in the cylinder's environment. Breezer plugs keeps it out of the cylinder.